Features
How to Photograph a Rail Trail Town Without Holding Up the Group
A practical guide to photographing a rail trail town in quick stops that fit a moving ride: three frames, group etiquette, and a two minute workflow.
What to take away
- Photographing a rail trail town fits a moving ride when you limit the stop to three frames: the town sign, the Main Street storefronts, and the trailhead.
- Stand at the curb or shoulder, never in the lane, the ramp throat, or a driveway mouth.
- Name one rider as photo lead so the group follows one plan and one signal.
- Keep the camera in a bar bag or hip pouch instead of buried in a pannier.
- Ninety seconds to two minutes per stop is plenty. Longer sessions belong at a bench or a cafe.
Pick Three Frames Before the Ride Starts
A town holds more subjects than a rolling group can absorb. Choose before you clip in. The sign, the storefront row, and the trailhead carry the story home.
Three Frames Before the Ride
Frame
- Town sign
- Welcome board, population marker, trail plate
- Storefronts
- Bakery, hardware store, repair stand outside
- Trailhead
- Mile marker, map kiosk, path into trees
Look for
- Town sign
- 20 seconds
- Storefronts
- 60 seconds
- Trailhead
- 40 seconds
On foot time
- Town sign
- Storefronts
- Trailhead
Pick Three Frames
| Frame | Look for | On foot time |
|---|---|---|
| Town sign | Welcome board, population marker, trail plate | 20 seconds |
| Storefronts | Bakery, hardware store, repair stand outside | 60 seconds |
| Trailhead | Mile marker, map kiosk, path into the trees | 40 seconds |
The sign frame sets place. Look for the welcome board, the population marker, or the trail name plate. Shoot level and let the lettering fill the frame.
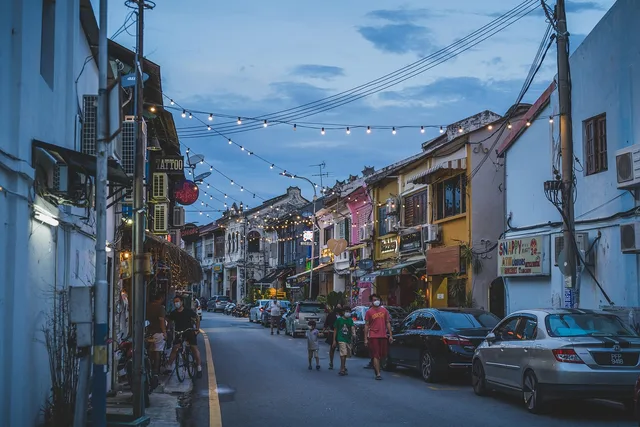
Storefronts say who lives there. A bakery, a hardware store, and a bike shop with a repair stand outside tell more than a wide street view.
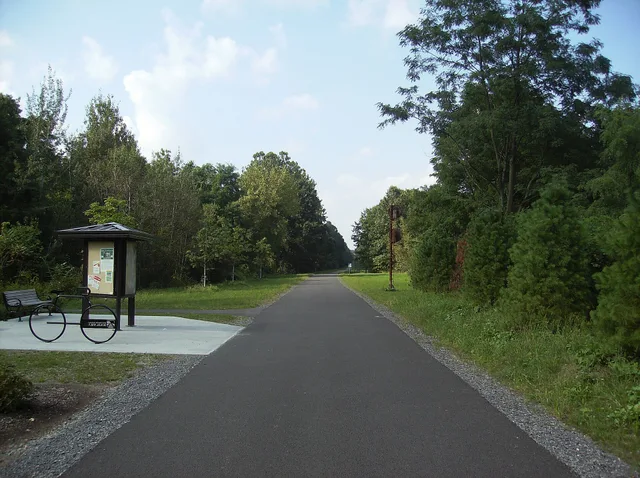
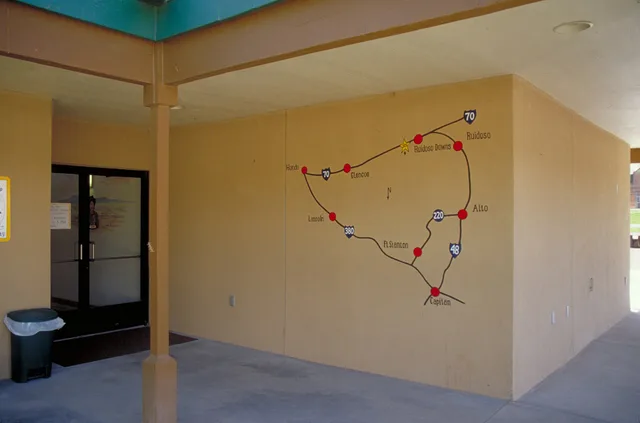
The trailhead frame dates the trip. Mile markers, a map kiosk, and the path sliding into trees all work from the saddle.
Cycling Group Photography Etiquette at the Town Edge
Groups fall apart at photo stops for one reason. Nobody knows where to stand. Settle that with a short checklist before the first stop of the day.
Group Photo Stop Checklist
- Photo lead calls the stop and picks the spot
- One rider watches the bikes and bags
- Everyone clears the traveled way in ten seconds
- Nobody shoots from a crossing, ramp, or driveway
- Lead counts heads before anyone clips in
Cycling Group Photography Etiquette
- Photo lead calls the stop and picks the spot.
- One rider watches the bikes and the bags.
- Everyone clears the traveled way within ten seconds.
- Nobody shoots from a crossing, a ramp, or a driveway mouth.
- The lead counts heads before anyone clips in.
The rule that keeps a group welcome is simple. If a driver has to brake for you, move. If a pedestrian has to step around you, move.
A wide sidewalk works if you leave half of it open. A loading zone does not work, even for thirty seconds.
A Two Minute Workflow for Rail Trail Town Photo Spots
A Two Minute Workflow
- Roll past the subject and pick your angle from the saddle. Do not stop blind.
- Signal, then pull to the curb single file with the group bunched tight.
- Hand the camera to one rider and stand three steps off the storefront glass.
- Shoot the sign wide, then the doorway, then one detail such as a chalkboard or a rack.
- Check one frame for focus, not twelve, and roll.
If you ride with a guided outfit, the discipline shifts a little, and the field notes on photographing a guided bike tour explain how to stay clear of crossings and ramps.
Example: A Canal Town Stop at Ten in the Morning
The group reaches a towpath town with twenty miles left before lunch. The lead calls a stop at the first welcome sign.
Two riders hold bikes on the shoulder. One rider shoots the sign and the storefront row in four frames. Total time: ninety seconds.
The group then rolls to the trailhead kiosk for one more frame and a water refill. No driver braked, no walker stepped around anyone, and the group lost three minutes.
If this town is also where the car sits for a multi day trip, read the parking guidance for C&O Canal access points before you leave the lot.
Trailhead Signage and the Rules It Posts
A kiosk shot is worth more than a pretty one. It captures the mile marker, the map, and the local rules in a single frame.
Those rules differ from trail to trail. The background on rail trails notes that access and surface standards vary widely by jurisdiction.
Federal money built many of these corridors, as the recreational trails program at the Federal Highway Administration shows. That funding rarely pays for the bench, the air pump, or the sign that greets riders.
That gap is where towns and operators meet. The notes on how shops work with operators explain what a business can offer a passing group.