Guides
Part of Rail trail gear compared against the path, not a review score
Rail trail gear planning: confirm your corridor first
A working order for rail trail gear planning: confirm the corridor and its surface, ride the loaded setup locally, then buy — with a two-week return window.
Gear bought in the last week before a trip is bought against a guess. The corridor is not confirmed, nothing has been ridden loaded, and the shop is choosing for you.
The fix is not to spend more. Rail trail gear planning is an ordering exercise: put each decision in a position where you make it with the answer to the previous one in hand.
What to take away
- Confirm the corridor before buying anything. The specification decides the kit.
- Ride the loaded bicycle locally before the trip. Agencies audit their own facilities on foot for the same reason.
- Setbacks, fencing and train speeds vary widely along working corridors; the state DOT rail office or the railroad can tell you what applies to yours.
- Leave two weeks between the last purchase and departure, so a failure is discovered at home.
Confirm the corridor first
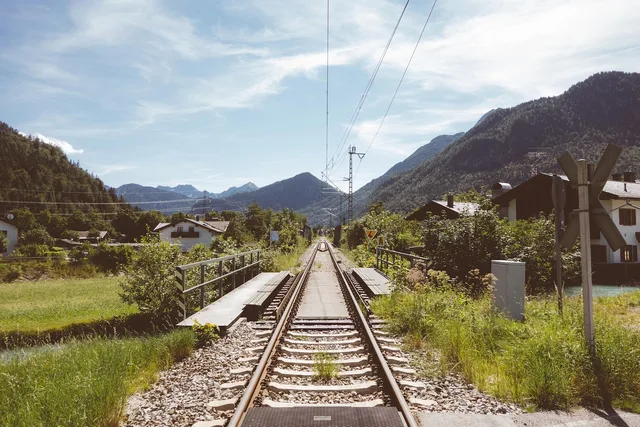
Corridor facts are more specific than most people expect, and they are published. The rails-with-trails case studies collected by FHWA, published as Rails-with-Trails: Lessons Learned on the FHWA website, give figures for individual trails. The ATSF Trail in Irvine, California runs about 3.2 miles at 10 feet wide inside a 200 foot easement.
Corridor specs across three trails
ATSF Trail
- Length
- 3.2 miles
- Width
- 10 feet
- Trains
- Not stated
- Setback
- 200 ft easement
Cedar Lake Trail
- Length
- 3.5 miles
- Width
- Not stated
- Trains
- 10-12 per day
- Setback
- 15 ft minimum
Blackstone River Bikeway
- Length
- Planned
- Width
- Not stated
- Trains
- Up to 40 mph
- Setback
- 8 ft fence
The Cedar Lake Trail in Minneapolis runs 3.5 miles beside 10 to 12 trains a day with a minimum setback of 15 feet from the track centerline. The Blackstone River Bikeway in Rhode Island was planned beside trains running at up to 40 mph behind an 8 foot fence.
Numbers like those tell you what the day feels like. A 10 foot path beside a busy line is not the place to learn how a loaded bicycle handles.
Those figures describe other people's trails. To confirm your own, start with the Rails-to-Trails Conservancy's TrailLink database, which lists a trail's length, surface and current status. Its closure notes matter as much as its mileage.
Then call the trail's manager — a state park office, a county parks department or a city trails office — and ask which sections are open, what the surface is right now, and whether any detour is posted. For train traffic, speed and setback, ask the state DOT rail office, and where the corridor is still owned by a railroad, the railroad itself. State rail plans and agency trail-status pages carry the same closures in writing.
Then ride it, locally
Transportation agencies do not choose treatments from a desk. FHWA's guidance on collecting qualitative data in planning describes walking audits as a way for people to experience walking and bicycling conditions directly. Pop-up meetings, open street events and indoor facility demonstrations sit alongside them, so a design can be tried before it is built.
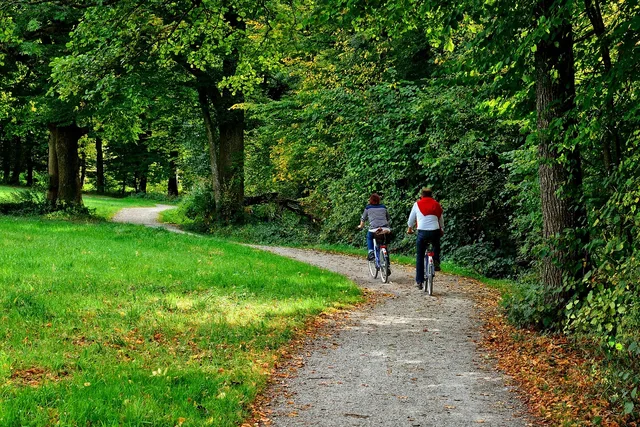
Do the domestic version. Load the bicycle exactly as it will be loaded, ride it for two hours on the nearest similar surface, and write down what annoyed you. That list is more accurate than any review.
The order that avoids buying twice
- Confirm the corridor, the open sections and the surface.
- Check what you already own against that specification.
- Buy only the gap, and buy it early.
- Ride the whole setup loaded, for at least two hours.
- Fix what the ride exposed, with a week still in hand.
Step three is where most money is lost. A bag bought before the rack, or a tire bought before the rim width is known, gets replaced. Step two is where most money is saved, and it is the step people skip because opening the cupboard is less satisfying than opening a browser tab.
A crushed stone corridor with long gaps between towns pushes toward wider tires, a rack that carries the load on the frame rather than the handlebar, and panniers sized for a day of food and water. A short paved suburban trail asks for far less. Read the specification first and the brand pages second.
Build in a return window
Order early enough that anything unsuitable can go back. A late order removes that option and turns a wrong choice into a permanent one. It also removes the quieter benefit of ordering early: time to discover that the thing you bought does not fit the thing you already had.
Keep a short written record: what was confirmed, who confirmed it, and on what date. Corridors reopen and close; a note on which section was open in March is worth more in June than a memory of a phone call.
The comparison that matters is against your own specification: surface, daily distance, load, and how much food and water the gaps between towns force you to carry.