Features
Part of Planning a realistic cycling weekend for 2027 means fixing points first
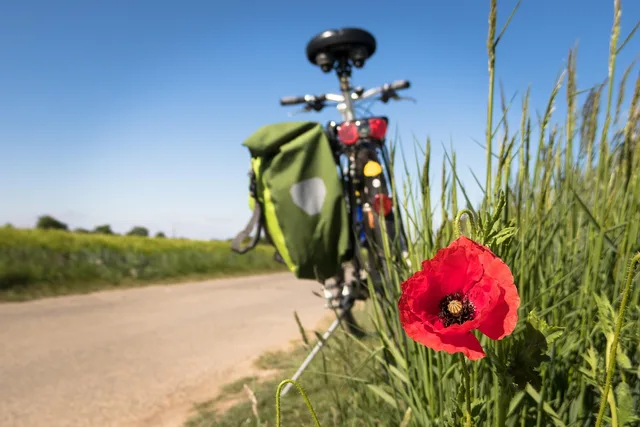
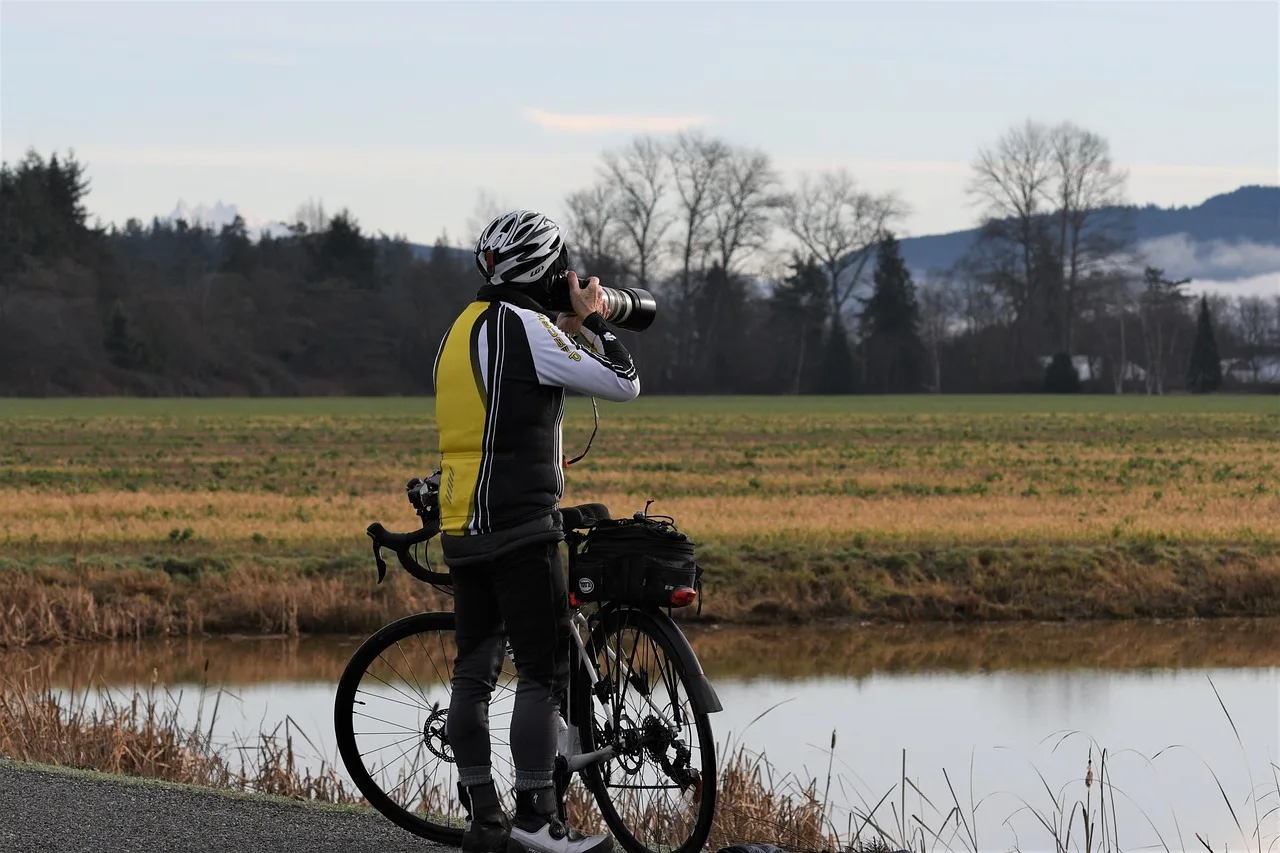
Cycling weekends field kit: pack a camera to survive
A cycling weekends field guide to packing a rail-trail camera kit, protecting it from rain and vibration, and stopping safely to shoot.
This cycling weekends field guide starts with a simple rule: photograph the ride without becoming a hazard, trespassing, or missing the light because your camera is buried in a pannier. A little planning makes that possible.
What to take away
- Converted rail corridors are photogenic because railroads followed rivers and canals, which is also why the light is difficult.
- Railroad property is not a location. Standing on or beside live track is trespassing and genuinely dangerous.
- Stopping in the wrong place on a shared path is the most common way photographers cause problems.
- A kit that is easy to reach and securely protected gets used all weekend.
Why rail corridors photograph well
The Federal Highway Administration’s Rails-with-Trails: Lessons Learned discusses why communities value these corridors: they offer scenic, unbroken stretches along rivers and canals, with a direct line between towns and gentle grades. The same kind of setting calls for care around active rail lines; a railroad operator’s trespassing warning is not an invitation to approach the tracks.
Take both halves. The corridor is the picture. The track is not a location, at any hour, on any line, however quiet it looks.
Where to stand
The Federal Highway Administration’s report, Conflicts on Multiple-Use Trails, addresses the friction that can arise when mixed user groups share paths not designed for standing still. A tripod on a two-way path, at a blind curve, on a bridge deck, or at a crossing is a hazard rather than a composition.
Practical rules:
- Get fully off the path surface before you raise a camera.
- Never stop inside a crossing, a tunnel, an underpass or on a bridge.
- Face the direction traffic comes from before stepping back.
- On a narrow section, wait for a gap rather than making one.
A kit that survives a bicycle
| Item | Why | Where it lives |
|---|---|---|
| One body, one lens | Decisions get made faster | Chest or hip, not a pannier |
| Padded top-tube or bar bag | Reachable at a stop | Frame |
| Microfiber cloth | Dust and drizzle | Jersey pocket |
| Spare battery | Cold days halve capacity | Inside layer, kept warm |
| Small towel | Wet handlebars ruin grip | Seat pack |
Protect the kit from weather, vibration, and impact
Put the camera in a padded insert with dividers that keep it from shifting or hitting the bag’s sides. For a bike-mounted bag, secure every strap and attachment before riding, and check them again after rough sections. A rigid mount or padded bag can reduce movement, but neither makes a camera crash-proof.
For rain, put the camera and spare memory cards in a dry bag or waterproof stuff sack inside the padded bag. A rain cover on the outer bag adds another layer, but is not a substitute for keeping the camera itself protected. Do not treat weather sealing as waterproofing.
Carry spare memory cards in a rigid case, kept dry and separate from the camera. Swap cards only after pulling fully off the trail, and keep used cards separate from unused ones. Cap the lens when the camera is stowed; use a lens hood as a buffer while shooting, and treat a protective filter as an optional layer, not impact armor.
A microfiber cloth handles smudges, but it will not safely remove grit or clean a sensor. Use a hand blower for loose dust, avoid changing lenses in dusty or windy spots, and leave sensor cleaning for a clean indoor setting. Keep a short, secure camera strap available when stopped, then stow or secure it before riding so it cannot snag.
No bag guarantees survival in a crash. Before rough or crowded sections, put the camera fully inside its closed, padded bag rather than leaving it loose on a mount or hanging from your body. Before the trip, check whether your homeowners, renters, travel, or camera policy covers damage while cycling and away from home; review exclusions and deductibles, and record the camera’s serial number.
Two lenses on a bicycle usually means one lens plus dead weight. Choose the one that matches the light you expect, not the one that covers every case.
Weight is not the only constraint: access, steering, and secure carrying all matter. A phone belongs in a secure, weather-resistant pocket; a compact or mirrorless camera with one lens fits a padded handlebar bag or stable hip pack. A heavier DSLR is better in a well-secured padded rack bag than dangling from a strap or weighing down the handlebars. Keep the camera stowed while riding, and take it out only after stopping fully off the path.
Timing the light
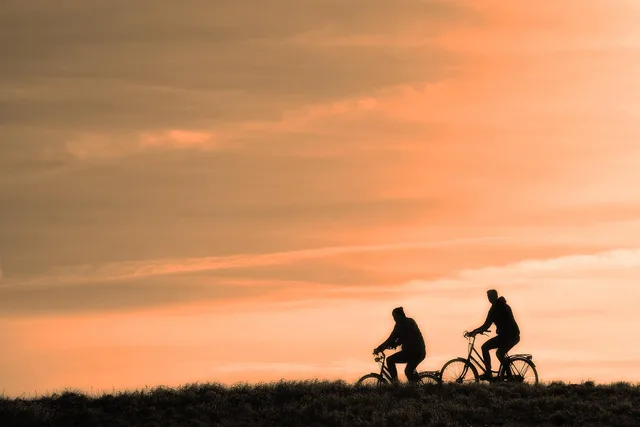
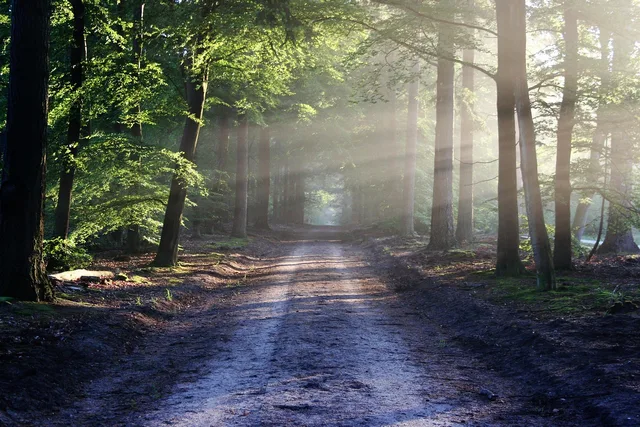
Rail corridors run one direction for miles. Tree cover on both sides turns them into long green tunnels. That gives flat light most of the day, with short windows at either end.
Plan photography around the first and last hour, and ride in the middle of the day. On an east-west corridor, the ends of the day are difficult in one direction and excellent in the other.
The pacing this implies is in a realistic plan for a cycling weekend, and the hazards worth reading before you stop anywhere are in what first-time visitors miss.